Are you tired of paying monthly subscription fees for cloud storage? Concerned about big tech companies scanning your private memories? It is time to take back control of your data with Immich, the absolute best self-hosted Google Photos alternative available today.
In this comprehensive, beginner-friendly tutorial, we will show you exactly how to install and configure Immich on your own server. By the end of this guide, you will have a fully functional, high-performance photo management platform complete with automated mobile backups and advanced machine learning capabilities.
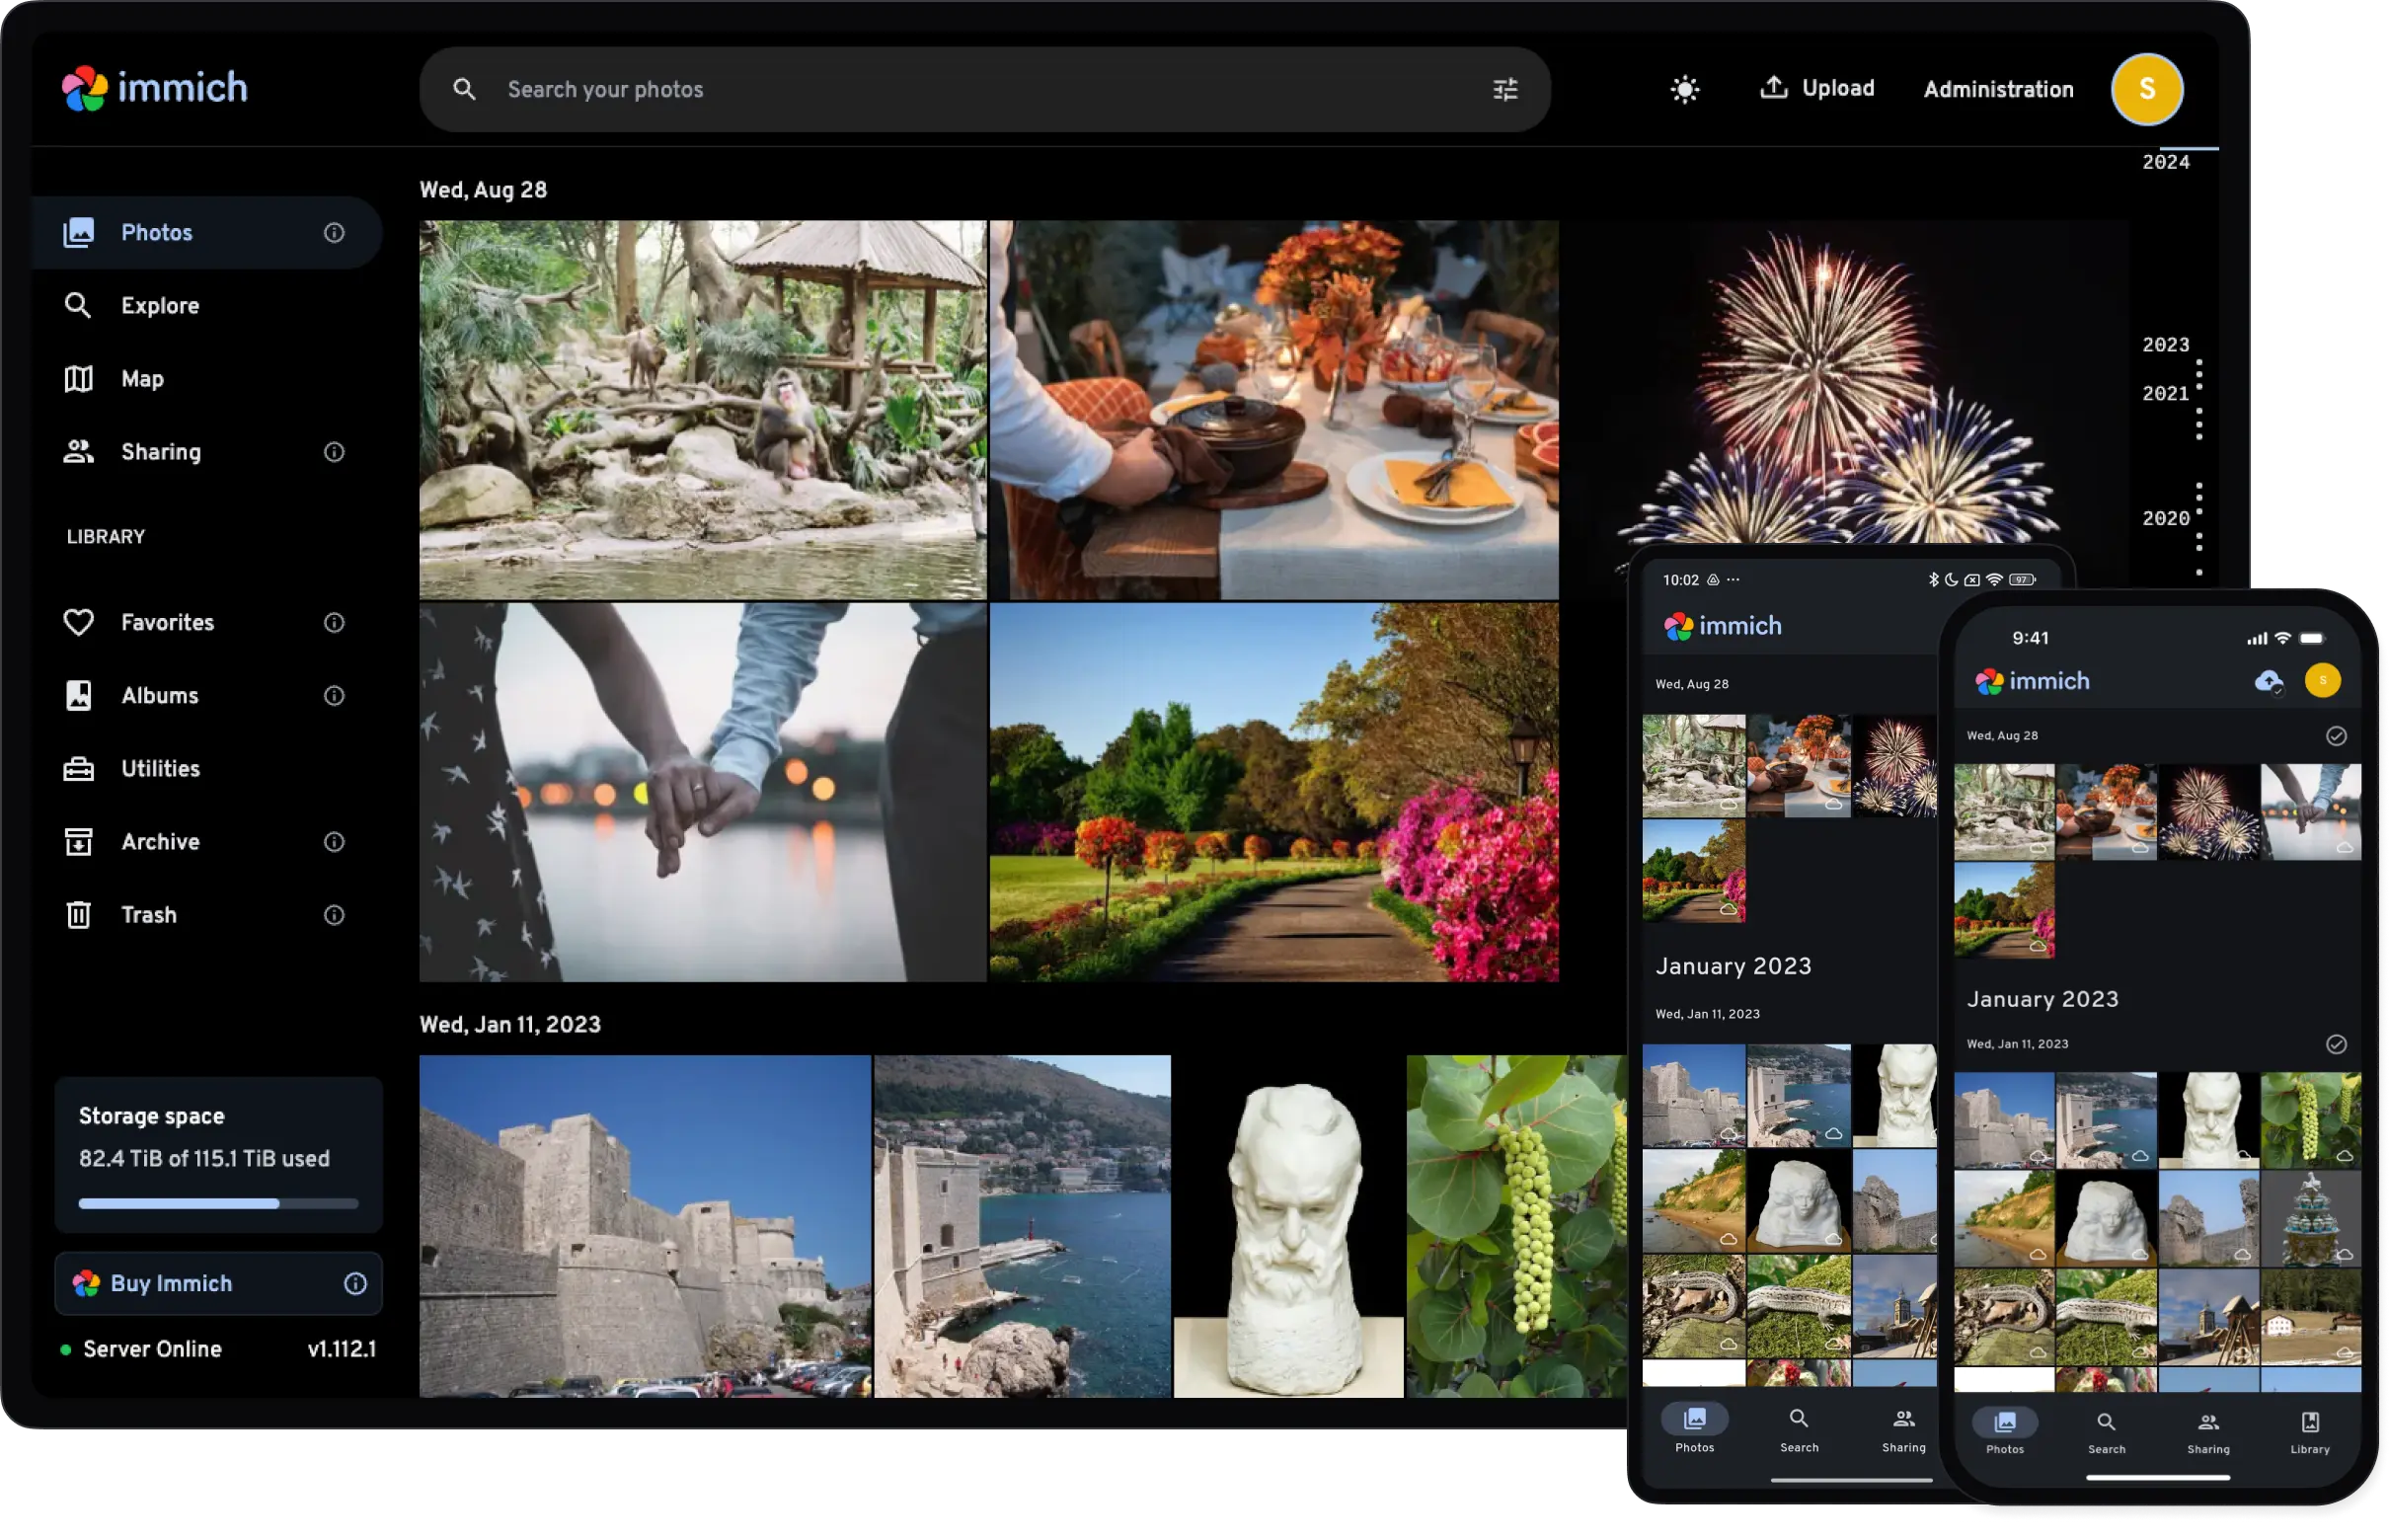
Why Immich is the Best Open-Source Photo Backup Solution
There are several open-source photo galleries out there, but Immich stands entirely in a league of its own. Built for speed and scalability, it flawlessly mimics the premium experience you expect from commercial services.
Here are the standout features that make Immich a must-have for your home lab:
- Native Mobile Applications: Unlike web-only alternatives, Immich offers polished, native apps for both iOS and Android. These apps support seamless, background photo and video backups.
- Advanced Machine Learning: Immich uses powerful local AI models to automatically recognize faces, cluster similar objects, and identify locations—all processed completely offline on your own hardware.
- Multi-User Architecture: Easily create separate accounts for your friends and family. Everyone gets their own private timeline, but you can effortlessly share albums with one another.
- Blazing Fast Performance: Whether you are scrolling through 1,000 or 100,000 photos, the timeline interface remains buttery smooth.
Pro Tip: Immich is under active development and receives frequent updates. Always ensure you read their official release notes before upgrading!
System Requirements & Prerequisites
Before we dive into the installation process, let’s make sure your server is ready. Because Immich utilizes machine learning for facial recognition, it requires slightly more resources than a basic web server.
What You Will Need:
- Operating System: A Linux server (we highly recommend Ubuntu 22.04 LTS or 24.04 LTS).
- Hardware: At least 4GB of RAM (8GB is recommended for smooth machine learning operations) and a multi-core CPU.
- Storage: Sufficient hard drive space to store your entire photo library.
- Software Dependencies: You must have Docker and Docker Compose installed.
Need help setting up Docker? Check out our complete Guide on Installing Docker on Ubuntu before proceeding!
Step 1: Prepare the Installation Directory
We will begin by creating a dedicated folder on your server to house all of Immich’s configuration files. This keeps your system organized and makes future backups incredibly easy.
Open your terminal and execute the following commands:
mkdir -p ~/immich-server
cd ~/immich-server
Step 2: Download the Official Docker Files
Immich is built using a modern microservice architecture. It requires a database (PostgreSQL), a caching layer (Redis), a machine learning container, and the main application server.
Instead of writing this complex configuration from scratch, the developers provide official, ready-to-use Docker files. Download them directly using wget:
# Download the Docker Compose configuration
wget -O docker-compose.yml https://github.com/immich-app/immich/releases/latest/download/docker-compose.yml

# Download the default Environment Variables template
wget -O .env https://github.com/immich-app/immich/releases/latest/download/example.env
Step 3: Configure Your Environment Variables (.env)
The .env file acts as the control center for your Immich installation. It tells Docker where to save your photos and how to secure your database.
Open the file using the nano text editor:
nano .envYou need to modify two critical lines in this file:
1. Define Your Storage Location
Find the UPLOAD_LOCATION variable. This defines the absolute path on your server where your photos and videos will be permanently stored.
# Example: Saving photos to an external hard drive mounted at /mnt/storage
UPLOAD_LOCATION=/mnt/storage/immich-data
(If you leave it as the default ./library, your photos will be saved inside the ~/immich-server/library folder).
2. Secure Your Database
Find the DB_PASSWORD variable. Change this to a strong, randomized password to protect your PostgreSQL database.
DB_PASSWORD=GenerateAStrongPasswordHere123!Save your changes and exit the editor (Press Ctrl+X, type Y, and hit Enter).
Step 4: Launch Your Personal Photo Cloud
With your files configured, it is time to bring your server to life. Make sure you are still inside the ~/immich-server directory and run the following command:
sudo docker compose up -dWhat happens now? Docker will begin downloading the required Immich images from the internet. Because the machine learning models are quite large, this process may take 5 to 10 minutes depending on your internet connection.
Once completed, verify that all services are running without errors:
sudo docker compose psStep 5: Initial Setup & Admin Configuration
Your Immich server is now live! Let’s set up your administrator account.
- Open your favorite web browser and navigate to
http://<YOUR_SERVER_IP>:2283. - You will be greeted by the welcoming Getting Started screen. Click the button to proceed.
- Fill in your details (Email, Name, and a strong Password) to register the Administrator Account.
- Log in using your new credentials.
You will now see the main Immich dashboard. It is beautifully designed, highly intuitive, and ready to accept your media.
Step 6: Connect the Mobile Application
A photo backup solution is only as good as its mobile integration. Immich excels here.
- Head over to the Apple App Store or Google Play Store and search for “Immich”.
- Download and open the official application.
- In the Server Endpoint URL field, enter your server’s address followed by
/api. Example:http://192.168.1.100:2283/api - Log in using the admin account you just created.
- Tap on the Cloud Icon (Backup tab) at the top right of the app.
- Grant the app permission to access your photo library, select the albums you want to sync, and tap Start Backup.
Your smartphone will now securely upload your entire photo library directly to your private server!
Final Thoughts & Optimization
Congratulations! You have successfully broken free from big tech ecosystems by deploying your very own self-hosted Google Photos alternative.
To take your setup to the next level, we highly recommend setting up a Reverse Proxy (like Nginx Proxy Manager or Caddy). This will allow you to assign a custom domain name (e.g., photos.yourdomain.com) to your server and secure your connection with an SSL certificate, making your photos safely accessible from anywhere in the world.
If you found this guide helpful, be sure to subscribe to our newsletter below for more weekly self-hosting tutorials and open-source project reviews!
