Welcome to the ultimate guide on setting up Nextcloud! If you are tired of paying for Google Drive, Dropbox, or iCloud, and want complete control over your own data, Nextcloud is the perfect self-hosted alternative. It offers file syncing, calendar, contacts, video calls, and much more.
In this tutorial, we will cover the absolute best and most reliable way to install Nextcloud: using Docker and Docker Compose on an Ubuntu server. This method keeps your system clean, makes updates incredibly easy, and isolates dependencies.
Prerequisites
Before we begin, you will need:
- A server running Ubuntu 22.04 LTS or 24.04 LTS (a VPS or a local machine).
- A non-root user with
sudoprivileges. - A domain name pointing to your server’s IP address (optional but highly recommended for SSL).
- Docker and Docker Compose installed. (Check out our Docker Installation Guide if you haven’t set this up yet).
Step 1: Prepare the Directory Structure
First, we need to create a dedicated directory on your server where all the Nextcloud configuration and data files will live.
mkdir -p ~/nextcloud-server
cd ~/nextcloud-server
Step 2: Create the Docker Compose File
We will use a standard docker-compose.yml file that defines both the Nextcloud application and its database (MariaDB).
Create a new file called docker-compose.yml:
nano docker-compose.ymlPaste the following configuration into the file:
version: '3'

services:
  db:
    image: mariadb:10.6
    restart: always
    command: --transaction-isolation=READ-COMMITTED --binlog-format=ROW
    volumes:
      - ./db:/var/lib/mysql
    environment:
      - MYSQL_ROOT_PASSWORD=super_secret_root_password
      - MYSQL_PASSWORD=nextcloud_db_password
      - MYSQL_DATABASE=nextcloud
      - MYSQL_USER=nextcloud

  app:
    image: nextcloud
    restart: always
    ports:
      - 8080:80
    links:
      - db
    volumes:
      - ./nextcloud:/var/www/html
    environment:
      - MYSQL_PASSWORD=nextcloud_db_password
      - MYSQL_DATABASE=nextcloud
      - MYSQL_USER=nextcloud
      - MYSQL_HOST=db
Security Tip: Make sure to replace
super_secret_root_passwordandnextcloud_db_passwordwith strong, unique passwords!
Save and close the file (in nano, press Ctrl+X, then Y, and Enter).
Step 3: Start the Nextcloud Containers
With your docker-compose.yml file ready, it’s time to pull the images and spin up the containers. Run the following command:
sudo docker compose up -dThe -d flag runs the containers in detached mode (in the background). Docker will download the Nextcloud and MariaDB images and start them up. This might take a few minutes depending on your internet connection.
You can check the status of your containers by running:
sudo docker compose psStep 4: Complete the Initial Web Setup
Once the containers are running, Nextcloud is accessible on port 8080 of your server.
- Open your web browser and navigate to
http://YOUR_SERVER_IP:8080. - You will be greeted by the Nextcloud setup screen.
- Create an Admin Account: Enter a secure username and password for your administrator account.
- Click Install or Finish Setup.
Note: Since we passed the database credentials in the docker-compose.yml file, Nextcloud will automatically connect to the MariaDB database without asking you to fill in the database details manually.
Step 5: Configure a Reverse Proxy with SSL (Optional but Recommended)
Running Nextcloud over plain HTTP on port 8080 is fine for a local home network, but if you want to access your cloud from the internet, you absolutely must use HTTPS.
The easiest way to do this is using Nginx Proxy Manager or Caddy. If you have a domain name, you can set up a reverse proxy that listens on port 443 (HTTPS), secures the connection with a free Let’s Encrypt SSL certificate, and forwards the traffic to your Nextcloud container on port 8080.
Post-Installation Configurations
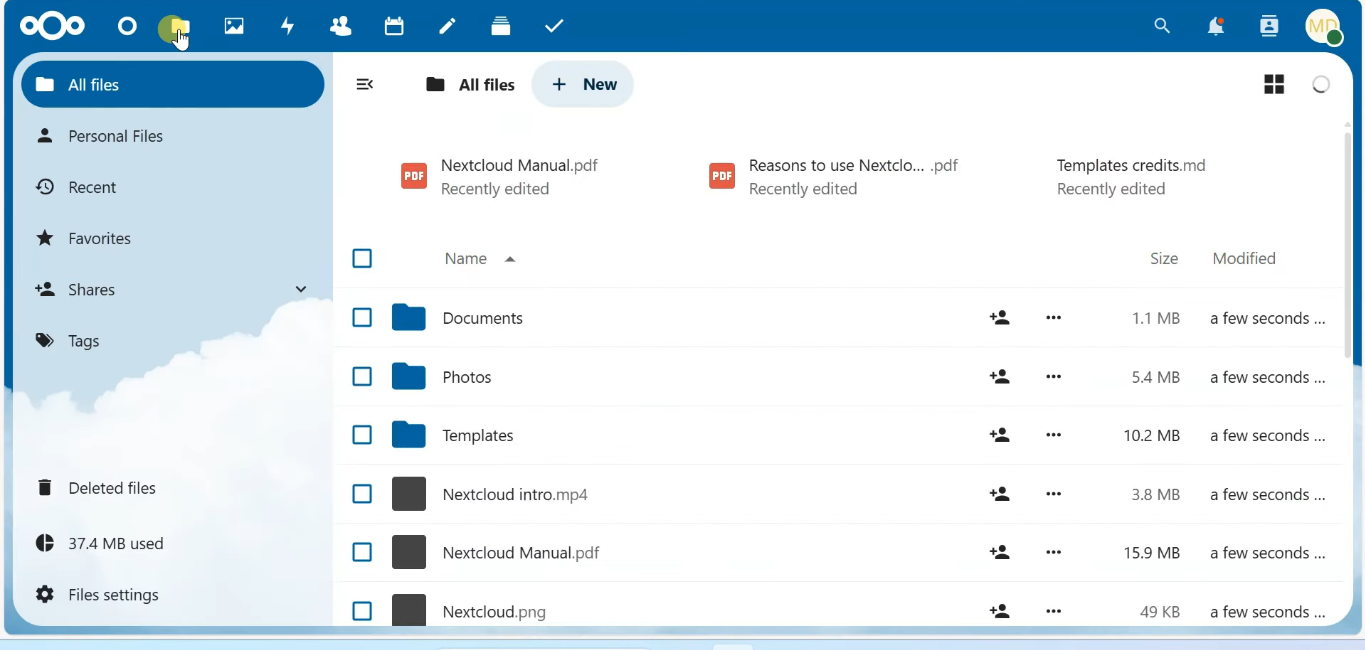
Once you log in, Nextcloud is ready to use! However, here are a few recommended tweaks:
1. Install Recommended Apps
Go to the Apps section from the top-right profile menu. Nextcloud has a vast ecosystem. We recommend installing:
- Calendar & Contacts: For syncing with your phone.
- Notes: A great markdown notes app.
- Talk: For private text, audio, and video chat.
2. Configure Background Jobs
By default, Nextcloud uses AJAX to execute background tasks on every page load, which isn’t efficient. It’s better to use cron.
Go to Administration Settings > Basic Settings and switch “Background jobs” from AJAX to Cron.
3. Setup Desktop and Mobile Clients
Nextcloud has fantastic client applications for Windows, macOS, Linux, iOS, and Android. Download them from the official Nextcloud website, log in using your server’s URL, and start syncing your files seamlessly!
Conclusion
Congratulations! You have successfully deployed your own self-hosted cloud storage. Nextcloud is incredibly powerful and offers a true alternative to Big Tech cloud providers, giving you full data sovereignty and privacy.
Enjoy your new private cloud!
